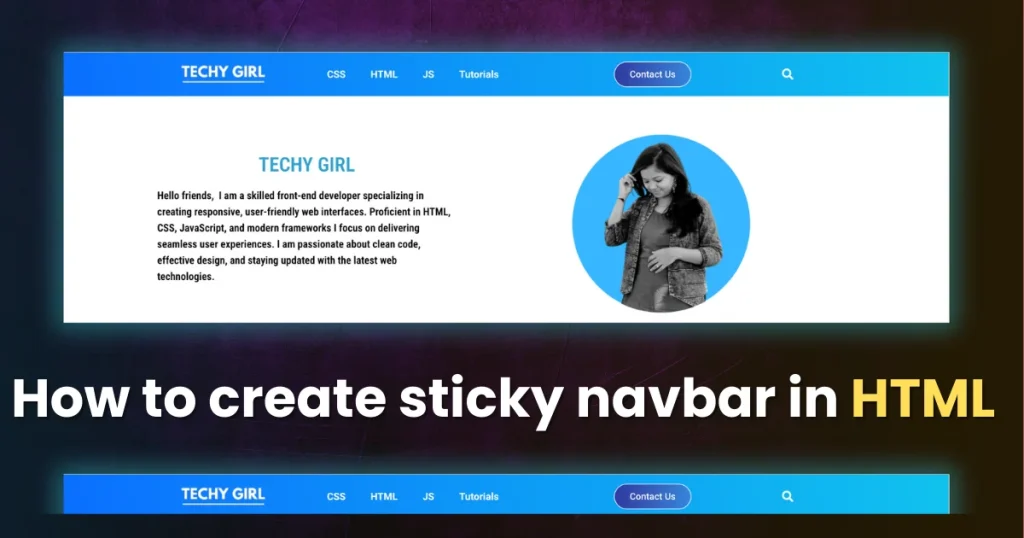
How to create sticky navbar in HTML – Creating a sticky navbar enhances website navigation by keeping it accessible as users scroll. This guide will walk you through implementing a sticky navbar using HTML and CSS, with detailed explanations and examples.
Table of Contents
How to create sticky navbar in HTML: Structure
The first step in creating a sticky navbar is to structure it using HTML. Below is the HTML code that outlines a simple navbar:
<div id="navbar">
  <a href="#home">Home</a>
  <a href="#news">News</a>
  <a href="#contact">Contact</a>
</div>
Breakdown of HTML Elements
Container (
- Container (
<div>): This serves as the main wrapper for the navigation links and is given the IDnavbarfor CSS styling. - Links (
<a>): Each anchor tag represents a navigation item, linking to specific page sections identified by their respective IDs.
CSS Styling for the Navbar
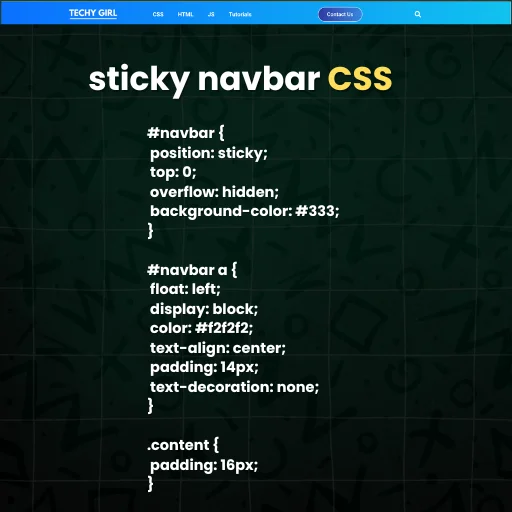
Next, you’ll want to style your navbar to ensure it looks good and functions properly. Here’s the CSS code that accomplishes this:
#navbar {
  position: sticky;
  top: 0;
  overflow: hidden;
  background-color: #333;
}

#navbar a {
  float: left;
  display: block;
  color: #f2f2f2;
  text-align: center;
  padding: 14px;
  text-decoration: none;
}

.content {
  padding: 16px;
}
Explanation of CSS Properties
- Positioning: The
position: sticky;property makes the navbar stick to the top of the viewport when the user scrolls down. - Top Position: Setting
top: 0;ensures it remains at the very top. - Background Color:
background-color: #333;gives the navbar a dark background, contrasting well with the light text color. - Link Styling: The
float: left;property arranges links horizontally, while padding and text properties ensure the links are easy to read and click.
This is How to create sticky navbar in HTML and style with CSS
Example Implementation
Here’s how to integrate the navbar into a complete HTML document:
<!DOCTYPE html>
<html lang="en">
<head>
    <meta charset="UTF-8">
    <meta name="viewport" content="width=device-width, initial-scale=1.0">
    <title>Sticky Navbar Example</title>
    <style>
        /* Include the CSS styles here */
        #navbar {
          position: sticky;
          top: 0;
          overflow: hidden;
          background-color: #333;
        }
        #navbar a {
          float: left;
          display: block;
          color: #f2f2f2;
          text-align: center;
          padding: 14px;
          text-decoration: none;
        }
        .content {
          padding: 16px;
        }
    </style>
</head>
<body>

<div id="navbar">
  <a href="#home">Home</a>
  <a href="#news">News</a>
  <a href="#contact">Contact</a>
</div>

<div class="content">
    <h1>Welcome to My Website</h1>
    <p>This is where you can find news and updates about various topics.</p>
    <p>Scroll down to see how the sticky navbar remains fixed at the top!</p>
    <p id="home">Home section content...</p>
    <p id="news">News section content...</p>
    <p id="contact">Contact section content...</p>
    <!-- Add more content here -->
</div>

</body>
</html>
Benefits of a Sticky Navbar
A sticky navbar provides several advantages:
| Benefit | Description |
|---|---|
| Enhanced Usability | Keeps navigation accessible, improving user experience. |
| Consistent Branding | Reinforces your brand by keeping key links visible. |
| Increased Engagement | Easy access to sections encourages user interaction. |
FAQ
What is a sticky navbar?
A sticky navbar is a navigation bar that remains fixed at the top of the screen when users scroll down a webpage, allowing for easy navigation.
How can I change the navbar’s background color?
You can modify the background color property in the CSS to any color that fits your website’s theme.
How to create sticky navbar in HTML?
By using Positioning properties. (As shown above)

