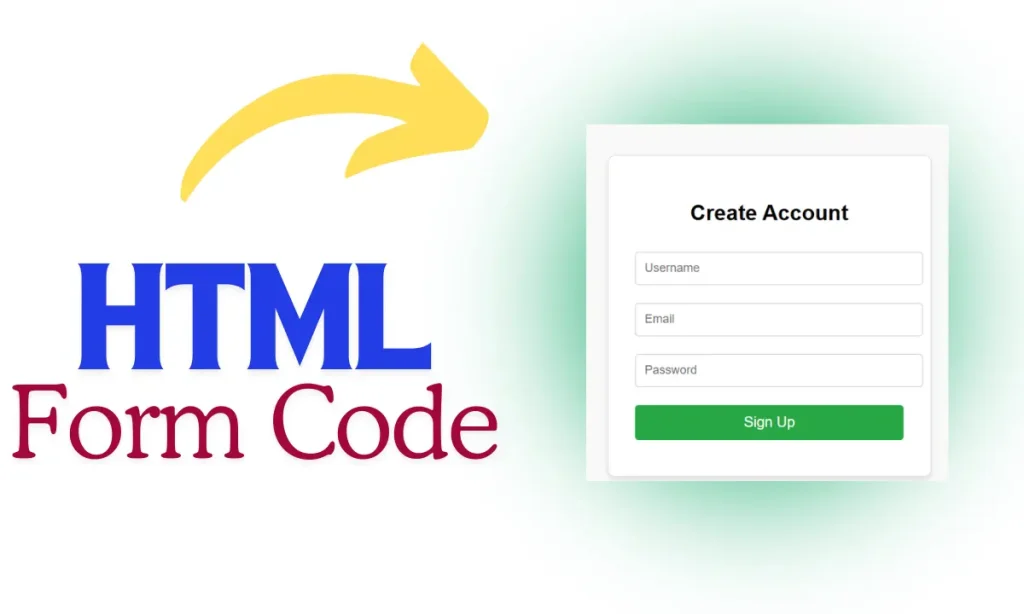
How to Generate HTML Form Code- Creating a well-structured and visually appealing HTML form is a fundamental skill in web development. In this article, we’ll walk you through building a simple, responsive HTML form with CSS styling. Learn how to enhance the user experience with modern design elements and best practices.
Key Features of the HTML Form Code
Responsive Design
The form is fully responsive, ensuring that it looks great on all screen sizes. The form’s width is capped at 300px, making it adaptable for mobile devices and desktops.
User-Friendly Styling
With a clean and professional design, the form includes:
- Rounded corners.
- A hover effect on the button for interactivity.
- Consistent font styling using Arial, a widely supported sans-serif font.
Ease of Customization
The CSS and HTML are modular, enabling developers to easily update colors, dimensions, and layouts to suit their projects.
Validation Ready
HTML5 attributes such as required ensure basic validation, improving form usability without requiring JavaScript.
Table : HTML Form Code
| Feature | Details | Example |
|---|---|---|
| HTML Structure | A simple, semantic form with input fields for name, email, and password. | <input type="text" required> |
| CSS Styling | Styling includes consistent margins, padding, and a hover effect for the submit button. | button:hover { background: #218838; } |
| Responsiveness | The form uses a max-width property to fit smaller screens while maintaining usability. | form { max-width: 300px; } |
| Validation | Utilizes the required attribute to ensure users fill out the fields before submission. | <input type="email" required> |
Example: How to Generate HTML Form Code
Here’s a simple example to demonstrate how to generate an HTML form code:
HTML
<!DOCTYPE html>
<html lang="en">
<head>
  <meta charset="UTF-8">
  <meta name="viewport" content="width=device-width, initial-scale=1.0">
  <title>Simple Form</title>
  <link rel="stylesheet" href="style.css">
</head>
<body>
  <form>
    <input type="text" placeholder="Name" required>
    <input type="email" placeholder="Email" required>
    <input type="password" placeholder="Password" required>
    <button type="submit">Submit</button>
  </form>
</body>
</html> 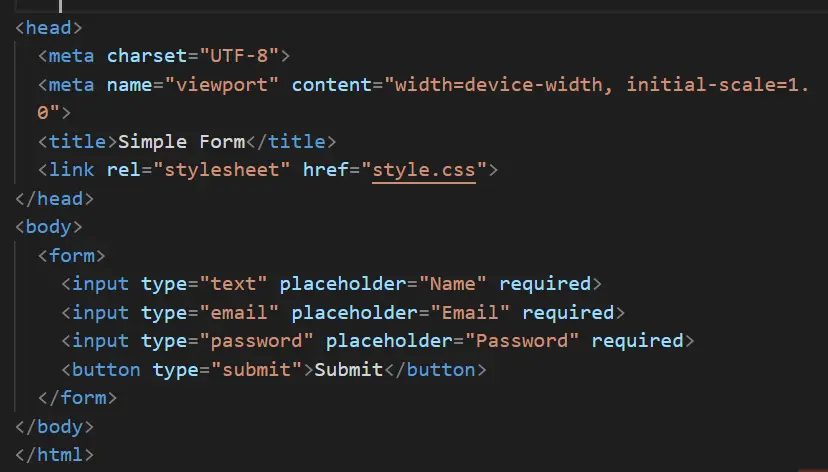
CSS
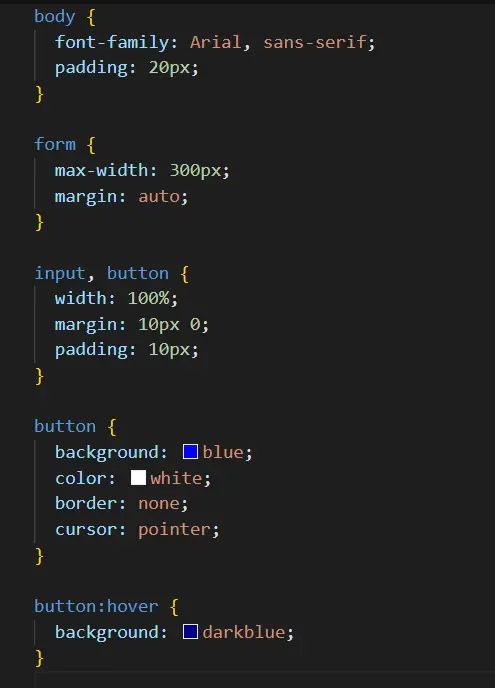
body {
  font-family: Arial, sans-serif;
  padding: 20px;
}

form {
  max-width: 300px;
  margin: auto;
}

input, button {
  width: 100%;
  margin: 10px 0;
  padding: 10px;
}

button {
  background: blue;
  color: white;
  border: none;
  cursor: pointer;
}

button:hover {
  background: darkblue;
} 
FAQ
Q1. Why is it important to use required in the input fields?
Using required ensures that users cannot submit the form without filling out mandatory fields. This improves data quality and saves backend validation efforts.
Q2. Can I change the form’s colors and fonts?
Yes! You can update the background, color, and font-family properties in the CSS file to match your design preferences.
Q3. Is this form mobile-friendly?
Absolutely! The CSS uses a responsive layout with max-width and margin settings to ensure compatibility across all devices.
Q4. Can I integrate this form with a database?
Yes, once your form design is complete, you can use a backend language like PHP, Node.js, or Python to process the data and store it in a database.
With this guide, you now have a solid foundation for generating an HTML form code. By combining sleek design and responsive elements, you can create forms that are both functional and visually appealing. Try it out and level up your web development skills!

