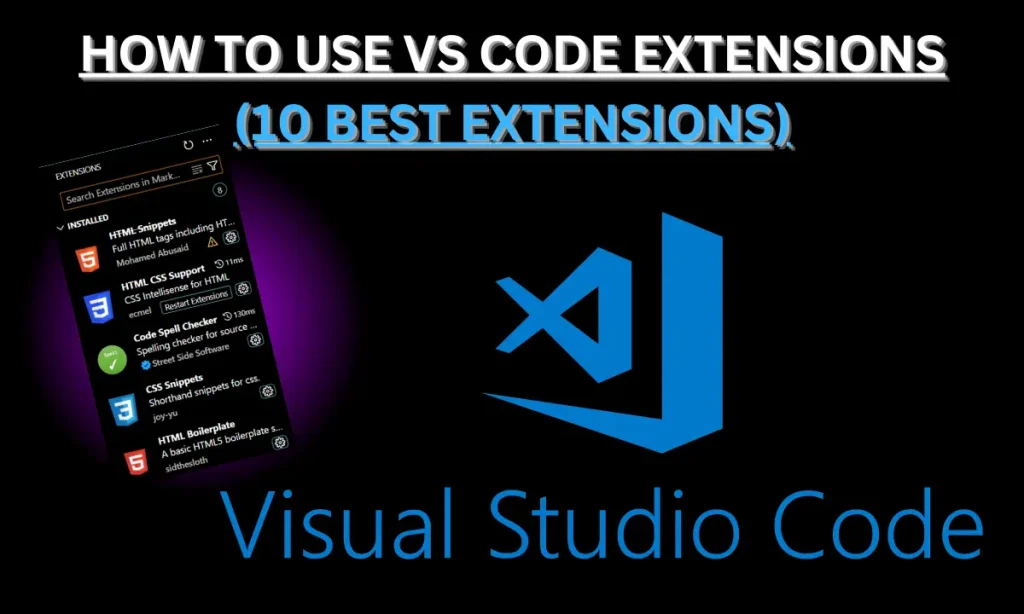
How to Use VS Code Extensions– Visual Studio Code (VS Code) is one of the most versatile code editors available, and part of what makes it so powerful is its vast library of extensions. These extensions enhance productivity, add new features, and provide helpful tools that integrate seamlessly with the editor. But how exactly do you use these extensions? In this article, we’ll dive into everything you need to know about installing, configuring, and optimizing extensions in VS Code.
What Are VS Code Extensions?
VS Code extensions are small software packages that add new functionalities to the Visual Studio Code editor. They allow you to customize your coding environment, helping streamline development and tailor the editor to your personal workflow.
Extensions can range from themes and formatting tools to advanced development features like code linting and debugging. The beauty of VS Code extensions is their ease of installation and integration, making them indispensable for developers of all skill levels.
Why Use VS Code Extensions?
VS Code, on its own, is already a robust text editor, but the use of extensions turns it into a powerhouse development tool. Extensions allow you to:
- Automate repetitive tasks like formatting and error-checking.
- Improve code quality with linters and debuggers.
- Speed up development with productivity tools.
- Customize the look and feel of your editor.
- Support different programming languages and frameworks.
Simply put, extensions let you work faster, smarter, and with more flexibility.
| How to Change Font Size in CSS: (With 1 new style) |
| What are Pseudo-Classes and Pseudo-Elements in CSS? |
How to Install VS Code Extensions
Installing extensions in VS Code is a breeze. Here’s a step-by-step guide:
- Open VS Code: First, make sure you have Visual Studio Code open.
- Access the Extensions View: Click the Extensions icon on the sidebar, or press Ctrl+Shift+X (on Windows) or Cmd+Shift+X (on macOS).
- Search for the Desired Extension: In the search bar at the top, type the name of the extension (e.g., “Prettier”, “ESLint”, “Live Server”).
- Install the Extension: Once you find the extension, click on the “Install” button.
That’s it! Once installed, you can start using the extension immediately.
Pro Tip: Popular VS Code Extensions
- Prettier: Automatically formats your code to keep it neat and consistent.
- ESLint: Helps you find and fix code quality issues by highlighting potential errors.
- Live Server: Allows you to launch a local development server with live reload features for web development.
Enabling and Disabling Extensions
Sometimes, you might want to disable an extension temporarily without uninstalling it. Here’s how:
- Open the Extensions View: Navigate to the Extensions panel (Ctrl+Shift+X or Cmd+Shift+X).
- Find the Extension: Look for the extension you want to disable.
- Disable the Extension: Right-click on the extension and choose “Disable.”
- If you want to re-enable it later, just right-click again and select “Enable.”
Configuring Extension Settings
Many VS Code extensions offer customization options that allow you to fine-tune their behavior. Here’s how to configure these settings:
- Open the Settings Menu: Go to File > Preferences > Settings (on macOS, use Cmd + ,).
- Search for the Extension: In the settings search bar, type the name of the extension to find its specific configuration options.
- Adjust the Settings: Each extension will have different configurable options, like turning certain features on or off, changing formatting rules, or integrating with other tools.
For example, Prettier allows you to choose between single and double quotes, set tab width, and enable or disable semicolons.
How to Update VS Code Extensions
Keeping your extensions updated ensures you have the latest features and bug fixes. Here’s how to update your extensions:
- Open the Extensions View: Once again, head over to Ctrl+Shift+X.
- Check for Updates: If any extension has an available update, you’ll see an “Update” button next to it.
- Update the Extension: Simply click “Update” to install the latest version.
Regular updates are crucial for maintaining compatibility and security.
Common Troubleshooting Steps
If an extension isn’t working as expected:
- Restart VS Code: Sometimes, a simple restart can solve the issue.
- Check for Updates: Outdated extensions might have bugs or compatibility issues.
- Consult the Documentation: Each extension has a detailed README file with troubleshooting tips.
FAQs
How do I install extensions in VS Code?
Open the Extensions view (Ctrl+Shift+X), search for the extension you want, and click “Install.”
Can I disable an extension temporarily?
Yes, right-click the extension in the Extensions view and select “Disable.” You can re-enable it anytime.
How do I update an extension?
Go to the Extensions view. If an update is available, click the “Update” button next to the extension.
Is there a way to create my own VS Code extensions?
Yes! You can use the VS Code API to build and test your own extensions. Start with the “Hello World” example to learn the basics.

